Everything You Need to Know About Brow Lamination
(Hadis Safari/Unsplash)
Laminated brows have been a mainstay in high end editorial for quite some time. Fluffy yet sleek, it instantly elevates your look and it’s a critical part of that Tik Tok-famous "clean girl” beauty trend. Personally, I have incredibly stubborn, thin, and straight Asian brows, so lamination has made my brows much more manageable. I have to confess, I jumped on the laminated brow trend a while back, and have never stepped off.
Lamination, AKA perming your brows, is best done with a professional as there are certainly risks involved. “Lamination itself is three steps, “ said brow artist Rai from Rai By Request in Greenpoint. “But the appointment is more than three steps.” Like all beauty treatments, it’s important to do your research before diving in. If you are pregnant or breastfeeding, have sensitive skin, eczema, contact dermatits, or rosacea, be sure to consult with your doctor ahead of any chemical processes.
The three steps are:
Applying the solution that perms or “lifts” your brow hairs and opens the hair cuticle. Your technician will then brush up your hairs so that the brows actually conform to their new shape.
After carefully monitoring the process, your provider will then apply a neutralizer that stops the perming process, softens the hairs, and closes the cuticles back up.
The third step involves applying some kind of treatment that nourishes and adds moisture back into the hairs.
However, many salons don’t stop there and provide full shaping and aftercare services. If you’ve been itching to try out lamination for yourself, there are a few things to be aware of ahead of your appointment.
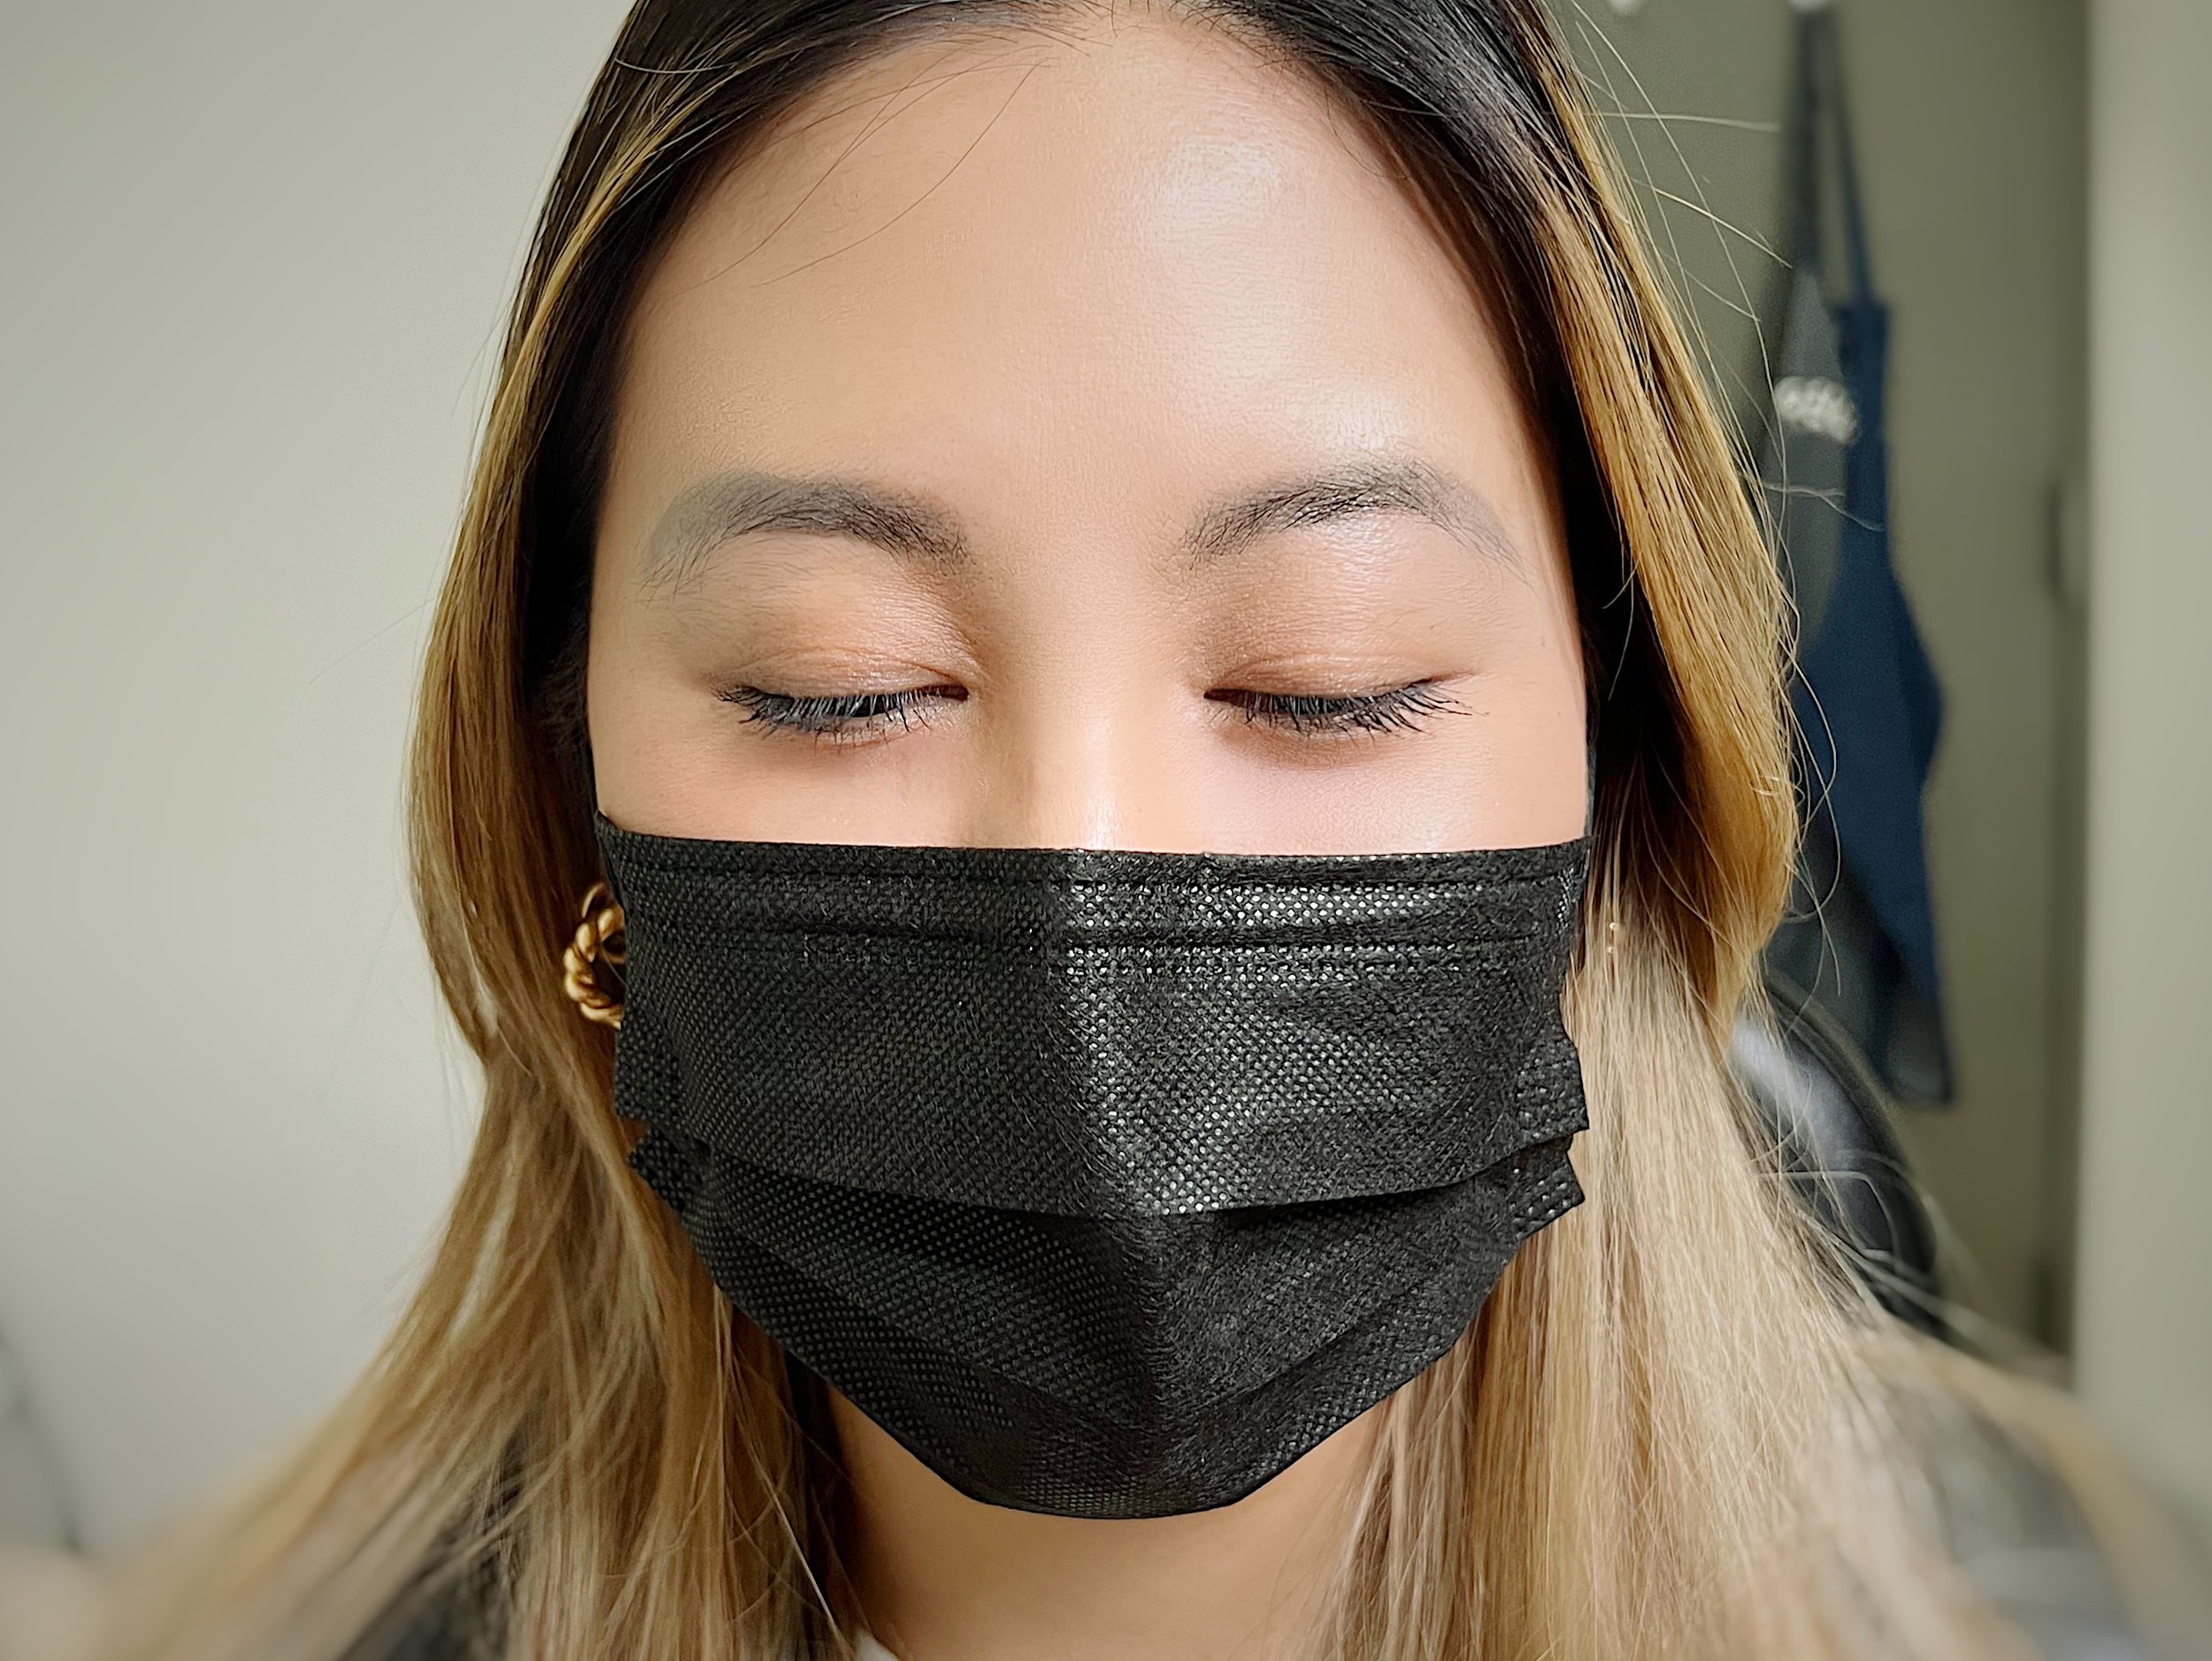
My brows before lamination. I do have older microblading. (Photo: Kimberly Wang)
Before you go
No exfoliants. Some salons offer full service shaping with lamination (waxing, trimming, plucking, tinting, etc.) If you are signing up for any kind of waxing service with your lamination, stop using physical and chemical exfoliants (i.e., AHA, BHA, retinols) one to two weeks ahead of your appointment to avoid lifting off your skin. If you’re on something stronger, like Tretinoin or Accutane, consult with your dermatologist.
Put down the tweezers. In order to have enough brows to achieve that fluffy look, try leaving your brows alone at least five to six weeks. Of course, it’s fine to remove the occasional stray hair, but leave enough to work with.
Moisturize, moisturize, moisturize. Perming is both drying and damaging. If your brow and the skin in that area are already dry, perming will only make it worse. Be sure to moisturize before and after your treatment (but more on aftercare later).
Price check. While prices vary, lamination usually costs around $85 to $150.
The lamination process. (Photo: Kimberly Wang)
Aftercare
Lamination lasts between four and seven weeks, depending on your hair type/skin type as well as your aftercare. Coarser hair may not have as long lasting results as thin hair. Like all treatments, there are a few important steps to follow to get the most out of your lamination.
Avoid water for 24 hours. If you’ve seen Legally Blonde, you know that water will neutralize your perm, so avoid moisture—and even sweat!—for 24 hours after your process. This means don’t wash your brows, avoid intense workouts, saunas, etc. for the time window.
Apply a bonding conditioner. Since processing hair is very damaging, Rai suggests using a bonding conditioner around day three or four for maintenance. “Pay attention to your brows,” she suggests. “If they feel dry, condition them.” Apply a thin layer with a Q-tip and wait a few minutes before rinsing off. She recommends Olaplex No. 5 or this one from Redken.
Avoid doing too much. Applying to much makeup and skincare, over washing, and exfoliating your brow area will all shorten the lifespan of your lamination.
One week results after my brow lamination headed to a family wedding with my cousin. Yes, I went blonde, which can be a post for another time. (Photo: Kimberly Wang)
FAQs
How do you groom your brows after lamination?
Lamination doesn’t ensure that you get perfectly groomed brows 24/7. It just makes your brow hairs much more pliable. Keep a clean spoolie handy at all times to give your brows a regular brush up.
Do you still need to apply makeup?
That’s a completely personal choice. Some folks might opt to keep their brows naked, while others might still want to fill in.
How long do you have to wait between sessions?
Rai recommends waiting a good 10 weeks between laminations in order to avoid overprocessing delicate brow hairs. “You have to remember lamination is a heavy process,” she said. “Your brows are first. What is the point of having lamination if your brows aren’t healthy.”
What can you do between sessions in order to keep your brows looking groomed?
Rai offers an in-between maintenance session you can schedule around four to five weeks after your lamination that involves trimming, tweezing, tinting, and applying a protein treatment to keep those hairs looking fresh. You can of course do this at home yourself using bonding conditioner as well.
Does lamination work if you have microblading?
“Absolutely! Lamination can look wonderful on people who have microblading,” says Rai. The microblading underneath the brows can actually enhance the look of the lamination. “Tint is [sometimes] not even needed,” she tells us.
Stay in touch! Follow me on Instagram and Facebook to be the first to know when I post.
(Featured photo: Hadis Safari/Unsplash)
While The Off Hours may at times use affiliate links, we always offer genuine editorial recommendations. As an Amazon Associate we earn from qualifying purchases at no additional cost to you.


